For individuals with hearing loss, hearing aids are crucial for better hearing and general quality of life. They do, however, need to be regularly cleaned and correctly maintained just like any technology does. The lifespan of your device can be substantially extended by regular cleaning which will also allow you to hear more clearly. Let’s take a look at some steps you can take to maintain your hearing aids.
Keeping your hearing aids clean and getting professional tunings
You should clean your hearing aids at least once every week. The lifespan of your hearing aid will be extended, and the sound quality will be improved by performing a quick, easy cleaning routine.
We recommend you periodically bring your hearing aids in for a professional tune-up along with your regular cleaning schedule. Think of it like going to the dentist, while brushing and flossing are helpful, professional cleanings ensure the best results. A deep clean by a professional is recommended every six months or so. This not only keeps them in prime condition but also helps diagnose any potential issues early.
Basic everyday care tips
The performance and lifespan of your hearing aids can be considerably enhanced by using these few basic tips. Consider the following tips to avoid common pitfalls:
- Keep Them Dry and Chemical-Free: Moisture and chemicals can be damaging to your hearing aids. Be sure to take them out before showering, going for a swim, or applying products like hairspray or perfume.
- Safe Storage: When they’re not being used, keep your hearing aids stored in a protective case or in their charger to avoid exposure to dirt or physical damage.
- Protect From Temperature Extremes: Avoid exposing your hearing aids to extreme weather conditions. Leave your hearing aids in the house if the weather is particularly hot and humid or cold and wet outside.
- Clean Before Bed: When you clean your hearing aids before bed they will be completely dry by the time you wake up and put them back in.
- Wash Hands Before Handling: Skin oils and debris can impact the function of your hearing aids so make sure you clean and dry your hands before handling them.
- Use a Dehumidifier: Keeping your hearing aids in a dehumidifier at night can help keep them dry and free of moisture that could cause malfunction.
Hearing aid care tools
Taking care of your hearing aids requires the correct tools. Here are some of the things you can expect to find in a hearing aid care kit:
- Hearing aid dryer: Dries any moisture accumulated after using the device all day.
- Microfiber cloth: Ideal for wiping down the surface of your hearing aids.
- Wax pick or loop: To gently clear out earwax and debris from tight spaces
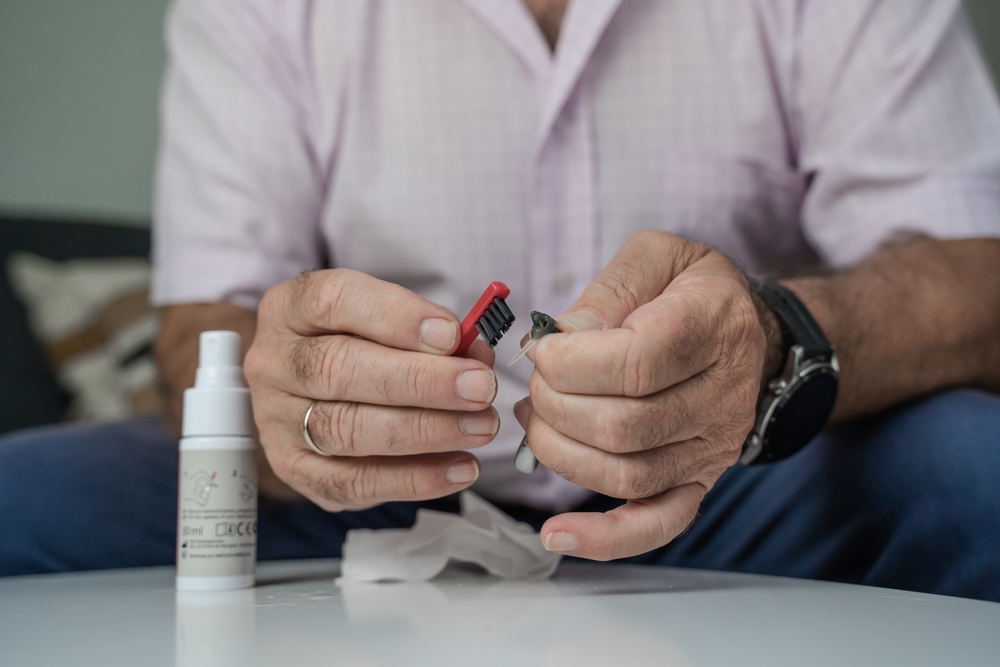
- Cleaning brush: For removing dust and wax accumulation.
- Slim tube cleaner: For the removal of debris stuck in the tubes.
Your hearing specialist can guide you on the right tools and practices to keep your hearing aids in superb condition.
Step-by-step cleaning determined by hearing aid type
There are some slight differences in how you clean different types of hearing aids. Two of the primary types of hearing aids are Behind-the-ear (BTE) and In-The-Ear (ITE): Here are specific cleaning instructions for each type.
How to clean In-The-Ear (ITE) hearing aids
- Brush Debris Away: Carefully brush away any debris or earwax from the surface of your hearing aid while holding it face down.
- Remove Wax with a Loop: Use a wax loop or pick to carefully remove any remaining earwax.
- Clear the Ventilation Tube: Push a slim cleaning tool through the vent tube to ensure there’s no obstruction.
- Wipe the Exterior: Wipe down the whole outer surface with a microfiber cloth to clear away any residue.
How to clean Behind-The-Ear (BTE) hearing aids
- Clean the Microphone Openings: Brush the opening of the microphone to ensure they’re free of debris.
- Clear the Tubing: Run a pipe cleaner through the tubing to eliminate wax or moisture, then clean the outside with a cloth.
- Clean the Aid: Gently wipe off any wax or dirt while holding the device face down, paying specific attention to the area around the receiver and microphone.
- Soak the Ear Mold: Remove and soak the ear mold in warm, soapy water to release any buildup. Use a tubing blower to remove excess moisture and dry with a clean cloth.
- Reassemble and Test: Reassemble and test your hearing aids after everything dries.
- Detach the Tubing: Begin by separating the tubing from the hearing aid itself.
- Use a Wax Pick: Remove any stubborn wax with a loop or pick.
Preventing ear infections with proper hygiene
Beyond the upkeep of your devices, it’s just as important to clean your ears. Excessive accumulation of earwax can negatively impact the function of your hearing aid and cause your ears discomfort and possibly infection. These issues can typically be avoided by regularly cleaning your ears and hearing aids.
Set up a professional hearing aid cleaning
Contact us right away if you would like to set up a consultation to go over any concerns you might have about hearing aids.
Your hearing aids will serve you well for many years with proper maintenance.
